Schedule a build
With a robust pipeline and data quality tests in place, it's time to take advantage of Y42's scheduling. By setting up scheduled builds, we ensure our data is updated regularly. In this section, we'll set up a scheduler and alert.
Create and run a scheduled build
Set up a schedule
- Open the bottom drawer
- Navigate to
Build scheduler - Click on
+ Add - Provide a name for the scheduled build:
orders_every_monday - Enter the following selector statement:
y42 build -s source:raw_space_fuel_shop.public_orders+ - Click on
Visualize DAGand verify that you see the DAG preview
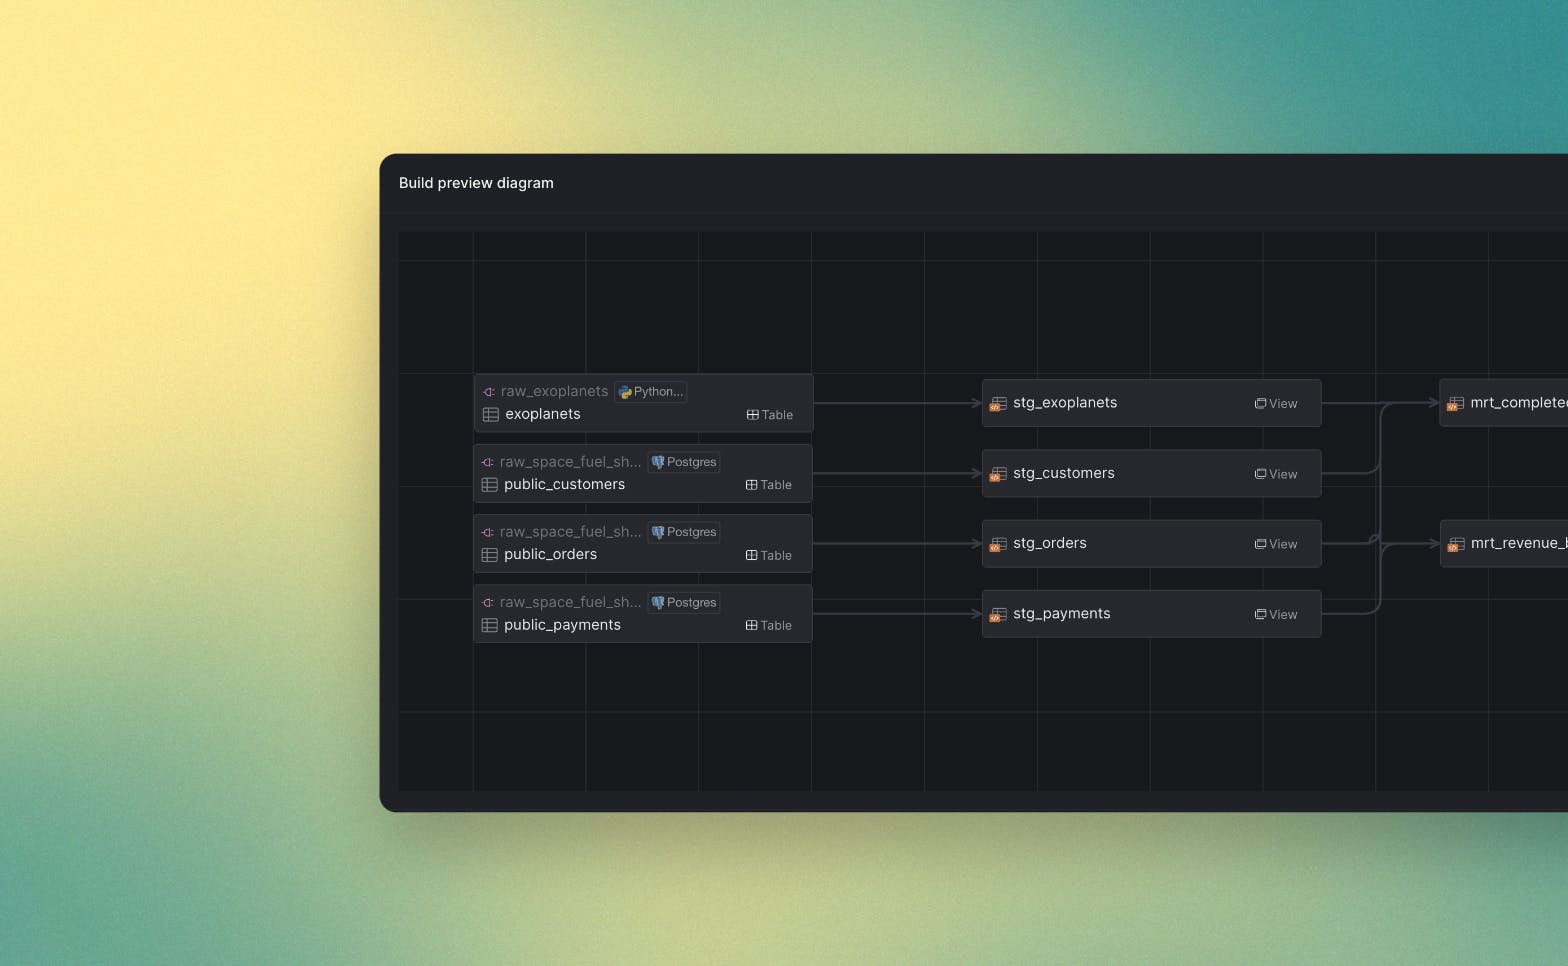
Scheduler DAG preview
- Set up the Schedule frequency unit:
Weekly - Set Options to
Run every Monday - Click on
Save' - Commit and push these changes with an appropriate commit title (e.g.,
scheduler: add schedule to build orders every Monday)
Trigger a manual run
- You should now see the schedule as a row in the
Build schedulertab - Click on
Trigger Runto trigger an ad-hoc out-of-schedule run - You'll see a blue bar appearing in the
Last Runscolumn - Once the run finishes, the blue bar will change color to reflect the run status: green for a successful run, yellow for a partially successful run, and red for an invalid one
View the Schedule as code
-
In the Asset Editor, select the
Codeview -
Click on the
orchestrationsdirectory -
Click on
orders_15m_schedule.yml -
You should see Y42’s YML structure for orchestrations:
_10version: 2_10_10orchestrations:_10- name: orders_15m_schedule_10config:_10enabled: true_10command: y42 build -s y42 build -s source:raw_space_fuel_shop.public_orders+_10cron: 0 0/1 1/1 * *_10y42:_10apiVersion: v1
Create an alert
It's great to have automatic pipeline runs set up, but we also want to know when the pipeline fails. Therefore, we'll set up an alert that notifies us if something goes wrong.
- Open the bottom drawer
- Navigate to
Alerts - Click on
Add an alert - Provide a name for the alert:
invalid_orders_run - Under
Trigger, selectorders_15m_schedule - Select
Partially invalidandInvalidas statuses - Under destinations, provide your user email
- Commit and push the changes with an appropriate commit title (e.g.,
alert: add failure alert for orders pipeline)
Up next
That's all there is to setting up orchestrations! With everything configured and tested, there's just one thing left to do: time to merge our changes to the main branch.