Ingest data using Python sources
Write your own Python scripts to extract and load data — no infrastructure setup or boilerplate code to load data into your data warehouse required.
Effortlessly ingest custom data using Y42 and Python.
Overview
Y42 simplifies data integration from external APIs using Python. Our platform handles the infrastructure and eliminates the need for boilerplate code for loading data into the Data Warehouse (DWH).
Your main task is to craft the Python logic for fetching data into a DataFrame. Each DataFrame represents a unique source table, which can then be modeled and processed downstream as any other source.
Add a Python source
Press CMD / CTRL + K or click the + button to access the create new asset menu. Find Python sources under the Ingest tab within this menu.
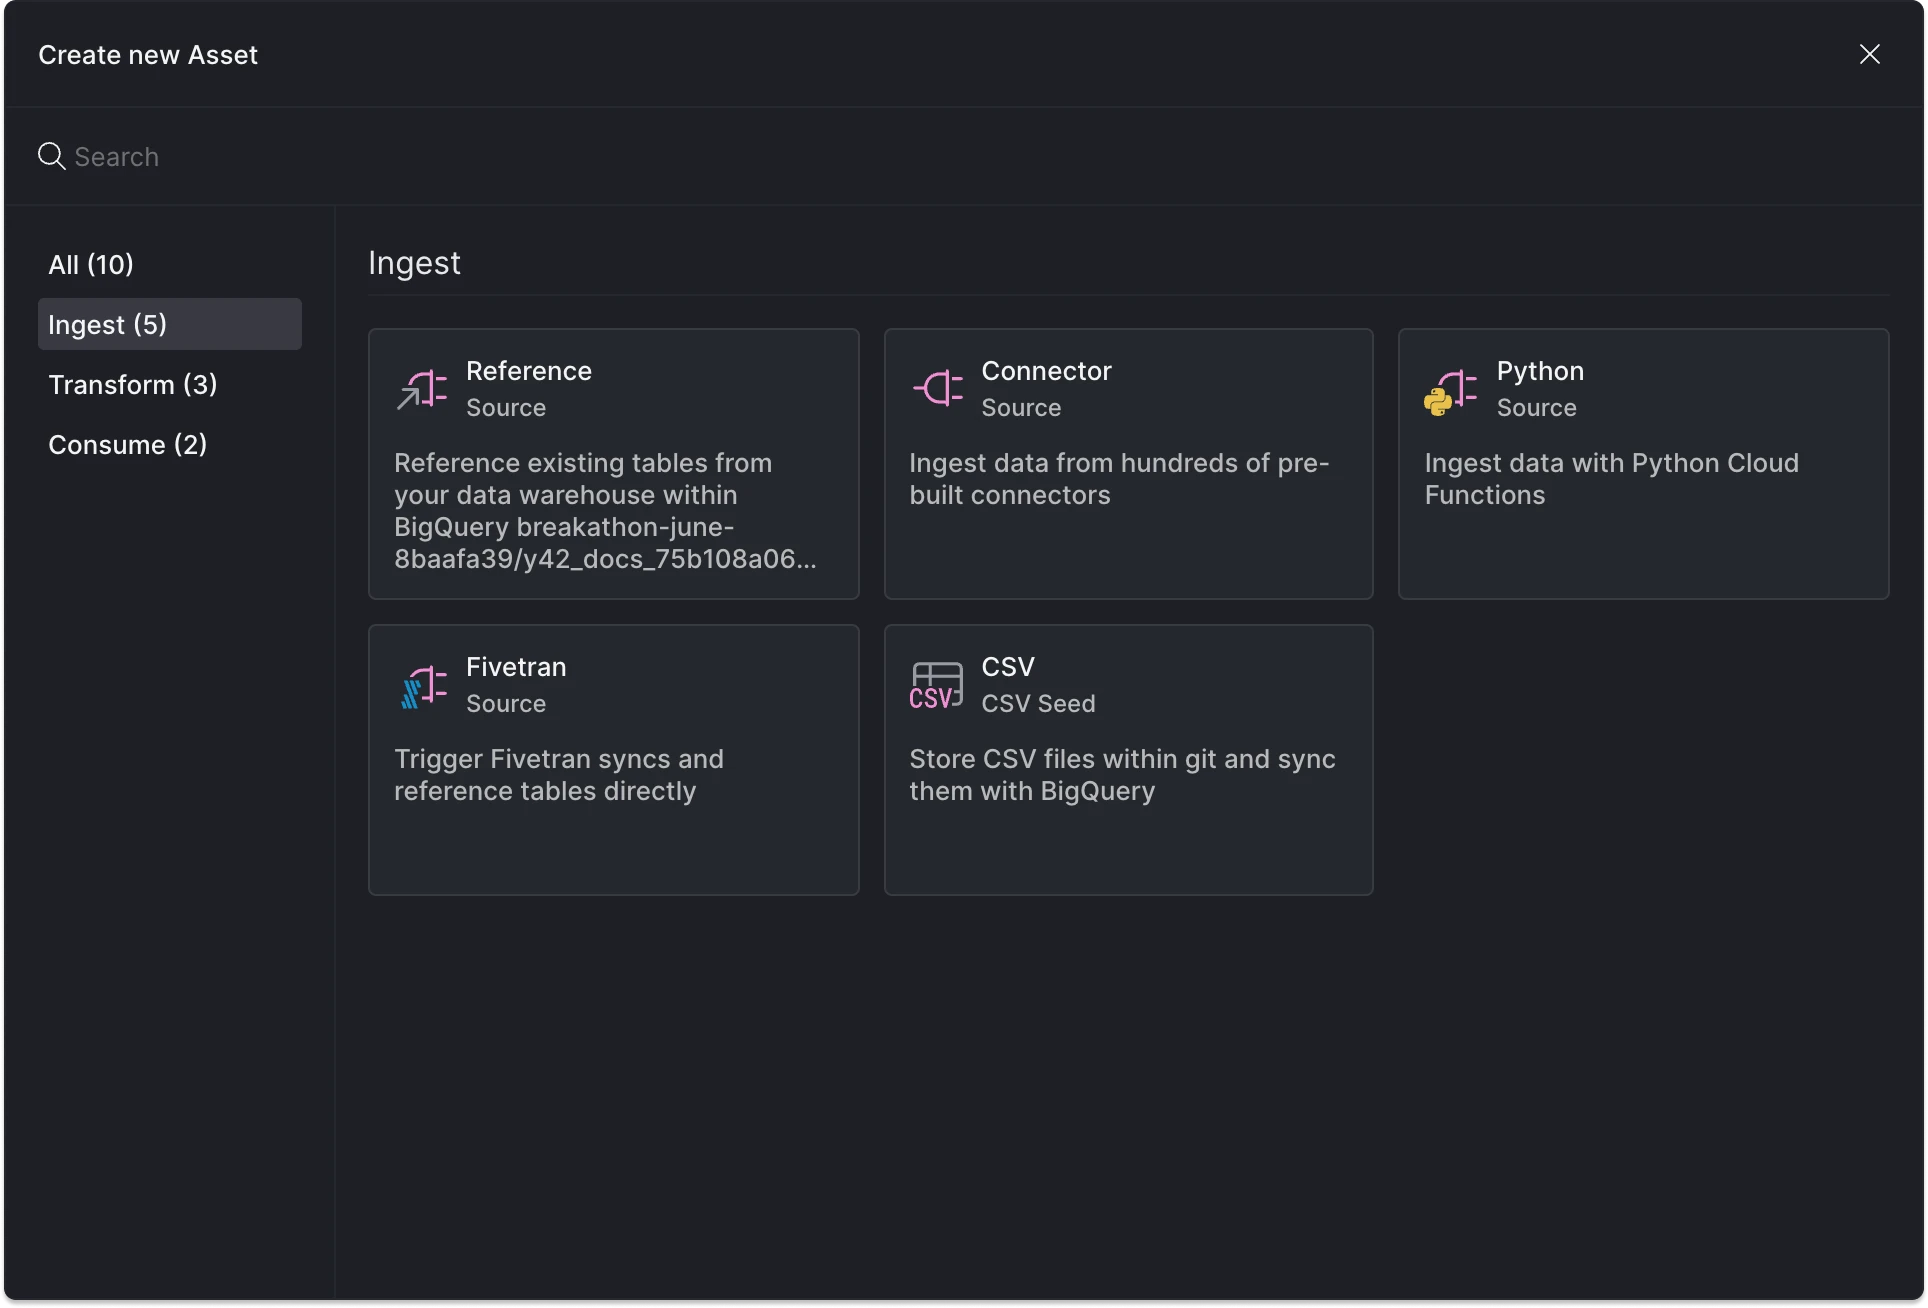
Add a Python source asset.
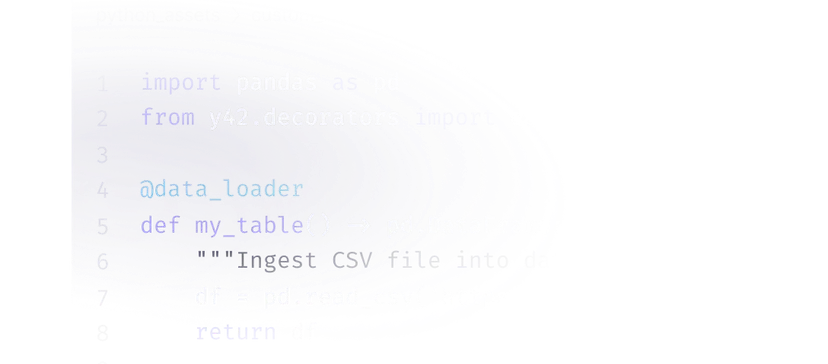
Within your python code, you can materialize a source in Y42 by using the @data_loader decorator. Functions decorated with @data_loader should return a pandas DataFrame (opens in a new tab), and their names will be used as table names in the database.
Import the data_loader function
Start by importing the data_loader function from the y42.v1.decorators module.
Commit changes & trigger the sync
Save your changes by committing them. You can build the asset using dag selectors or via the Build history tab.
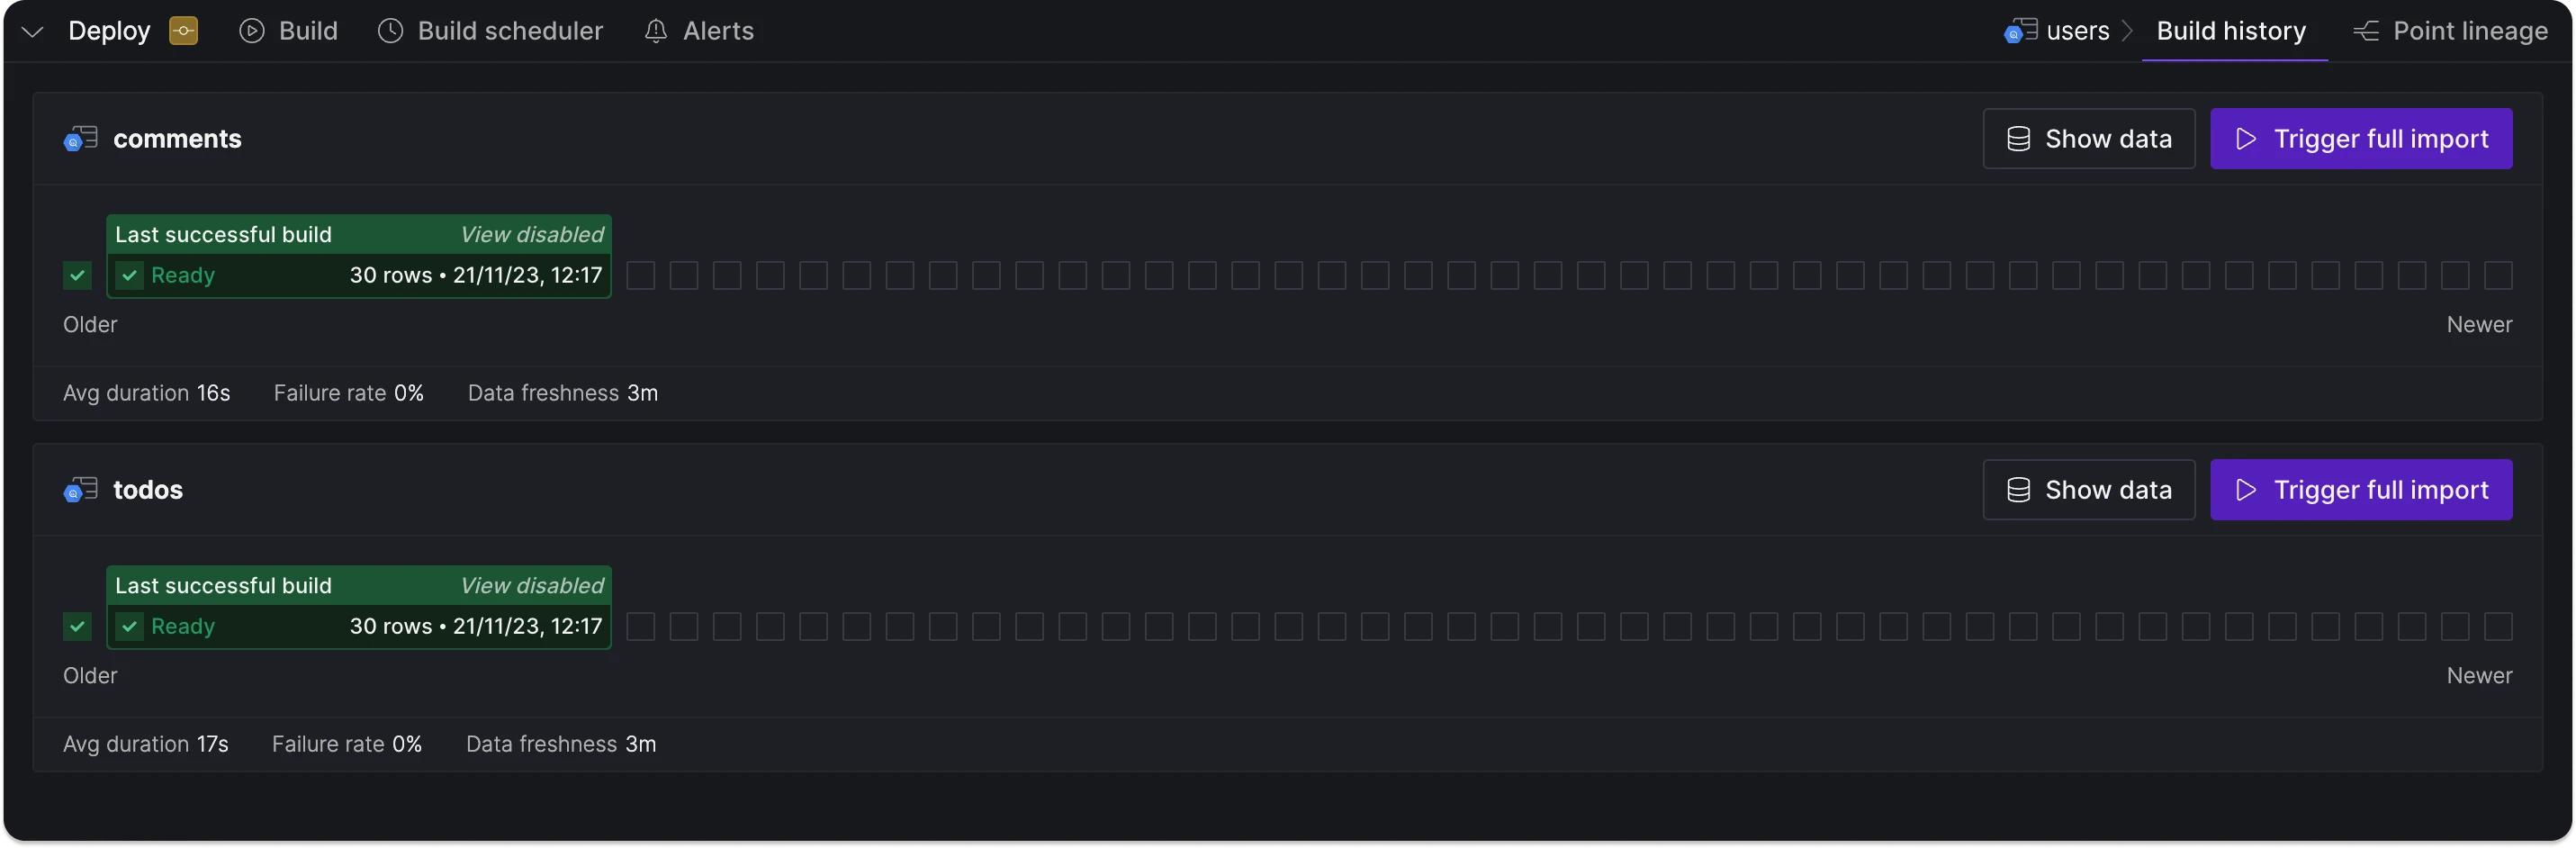
Build history tab for the new Python source showcasing the two tables created and loaded.
Using dag selectors:
The + selector, when used after the asset name in the command, also triggers all downstream dependencies.
Using secrets in Python scripts
You can reference custom secrets in Python scripts using the following syntax:
_10@data_loader_10def products(context) -> pd.DataFrame: # add the context argument to your function_10 api_key = context.secrets.get("API_KEY") # get a specific secret by passing it's name_10 all_secrets = context.secrets.all() # get all secrets saved in a space
Example:
In this case, the secrets are named USER and PASSWORD.
Python source configuration details
- Multiple sources in one script: You can annotate multiple functions with the
@data_loaderdecorator in a single script. Each function needs a corresponding source table with the same name. - Non-decorated functions: Functions not decorated with
@data_loaderwon't be loaded into the DWH, eliminating the need for a corresponding source table. - Source table and function correspondence: If you create a source table without a matching
@data_loaderdecorated function, Y42 will prompt you to add a corresponding function. Similarly, Y42 will notify you if a decorated function lacks an associated source table. This feature helps maintain consistency between your Python code and the Y42 source tables.
Loading data incrementally
Y42 facilitates state management of an asset via context.state. You can think of it as a dictionary (key-value pairs), where you can store and update data across different runs.
We can use the context.state to track the last execution time of the asset. For instance, you can define a key like last_update, which updates each time the asset refreshes.
Retrieving the asset's state
You can get the asset's state with the context.state.get() function. On the first run, this returns an empty dictionary.
Logging
Use the logging module (opens in a new tab) to log messages.
Example:
You can view the logs by accessing an asset's Build history and selecting the Logs tab.
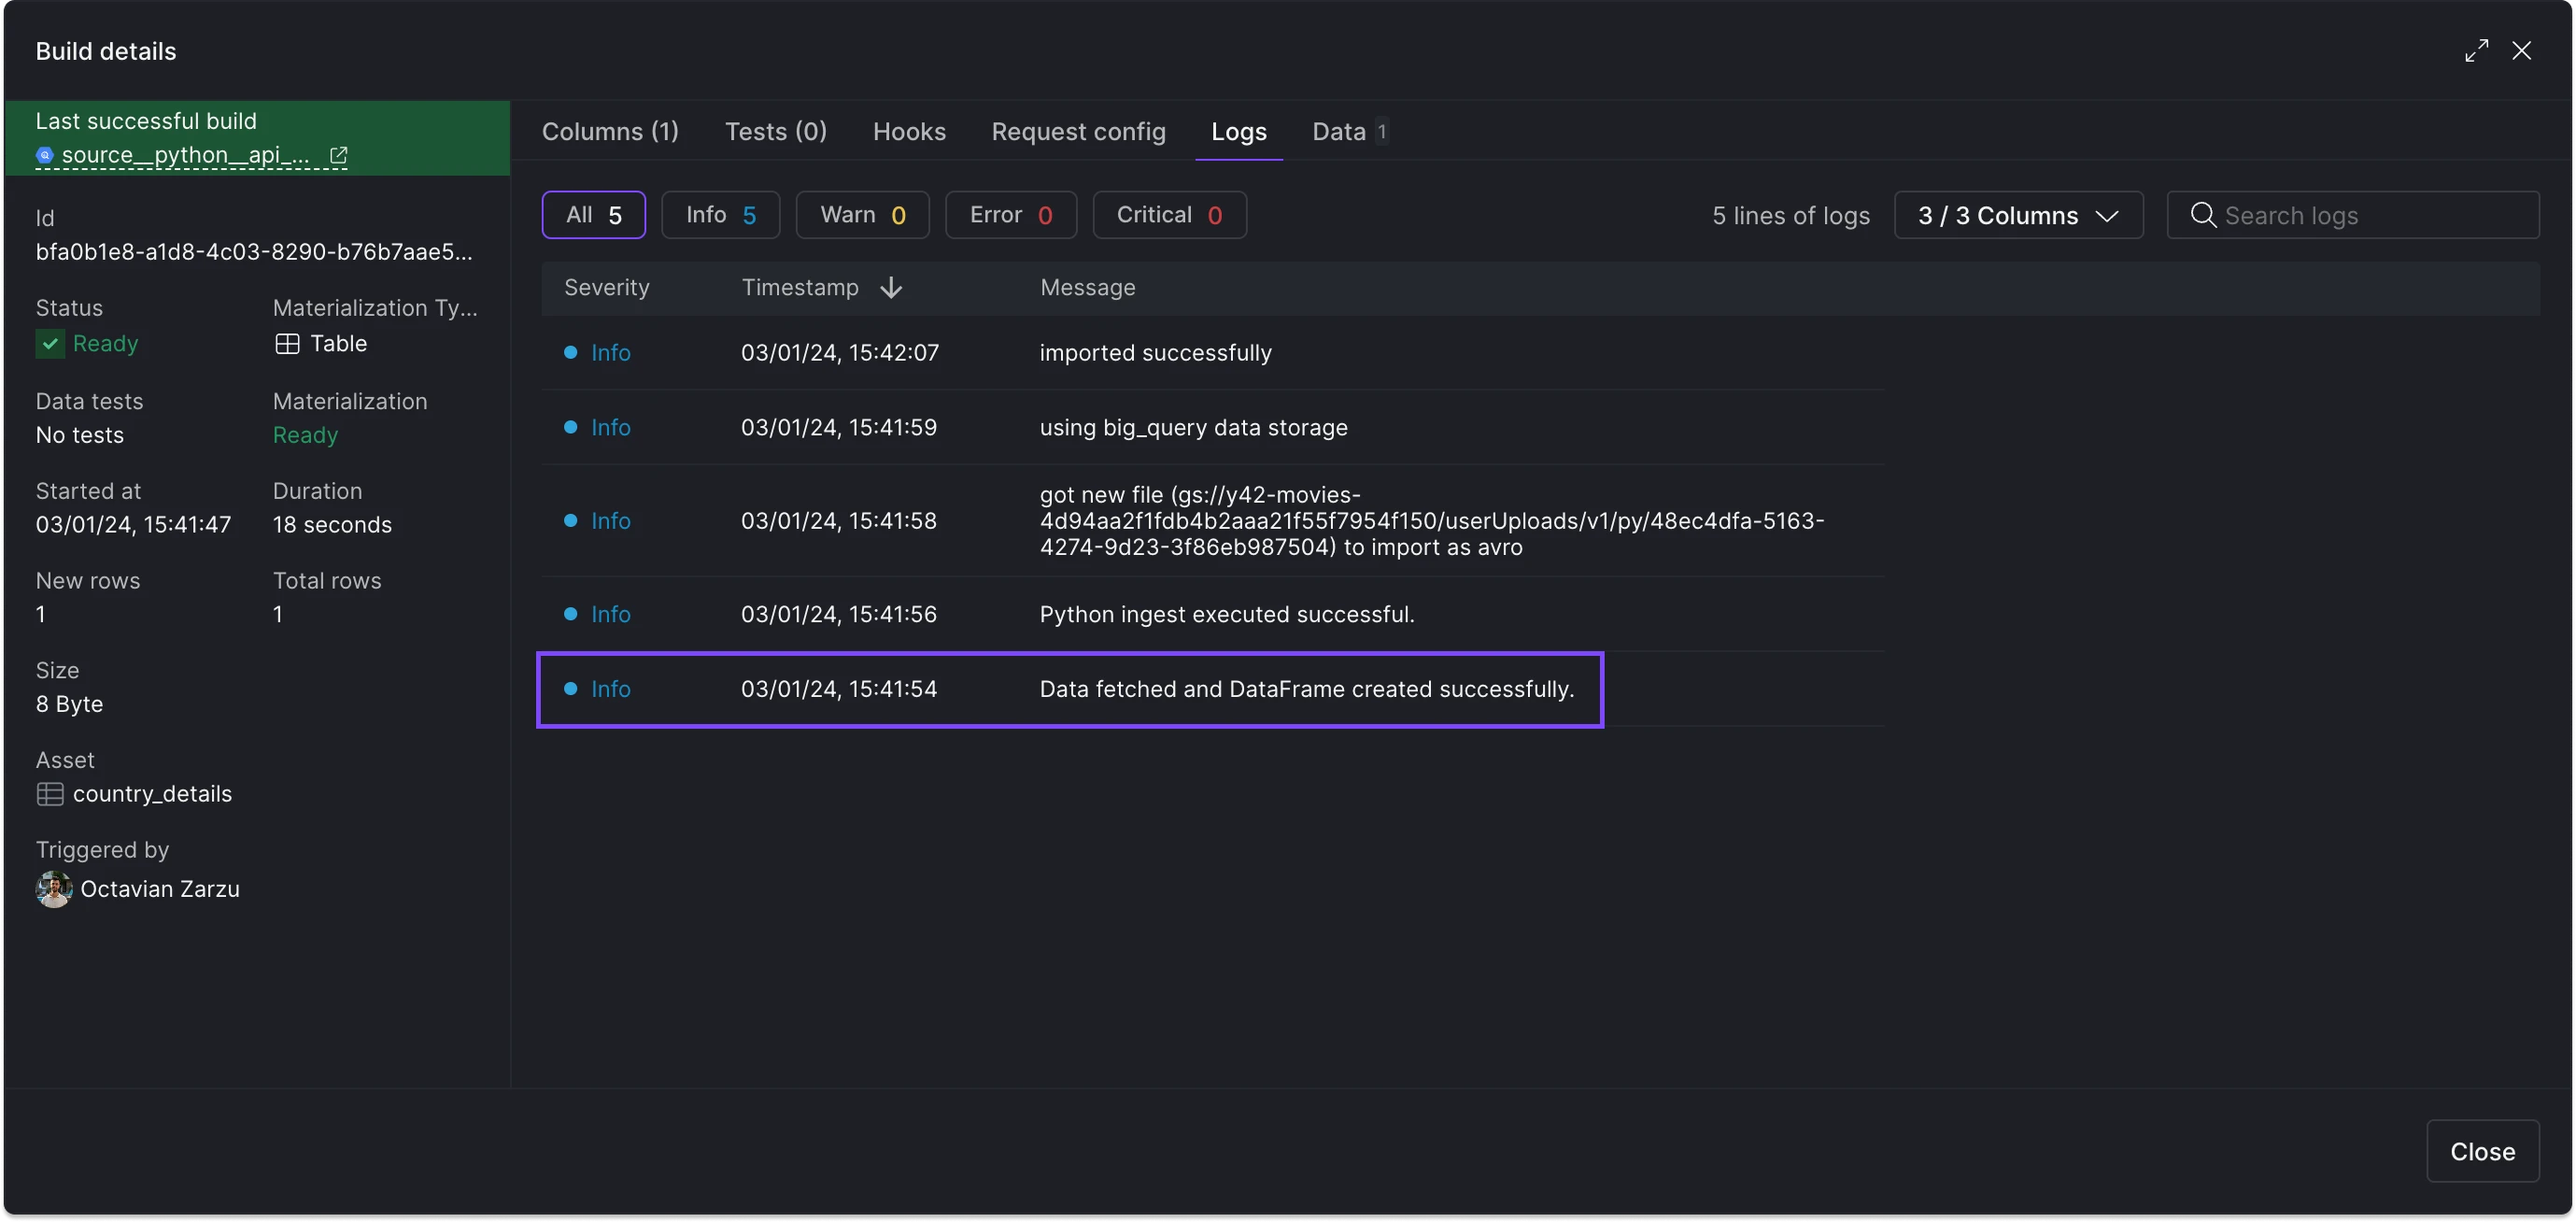
Visualize Python asset logs in the Builg history tab.
To enhance the readability of logs, especially when dealing with dataframes, we recommend using the DataFrame to HTML function (opens in a new tab). This function converts your dataframe into an HTML table, making your logs more structured and easier to read.
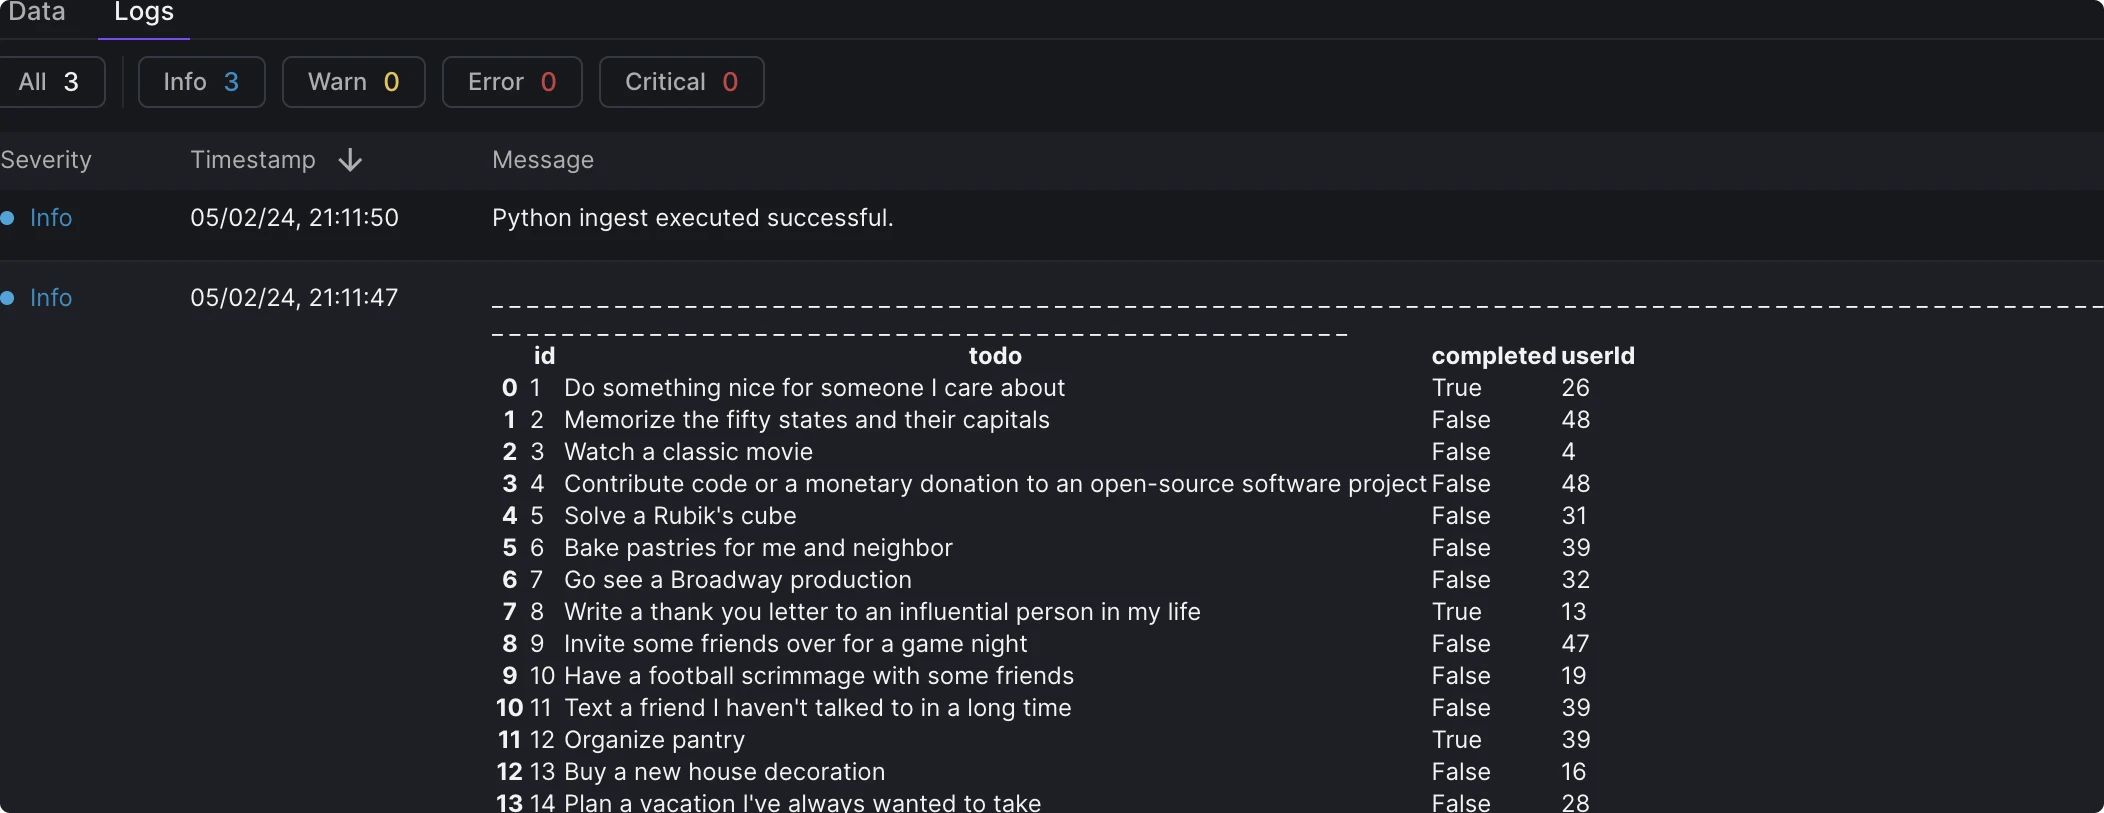
Formatted logs example.
Data preview and logs
Preview the data and view logs for each function decorated with @data_loader by clicking on the "Preview" option located above the function name.
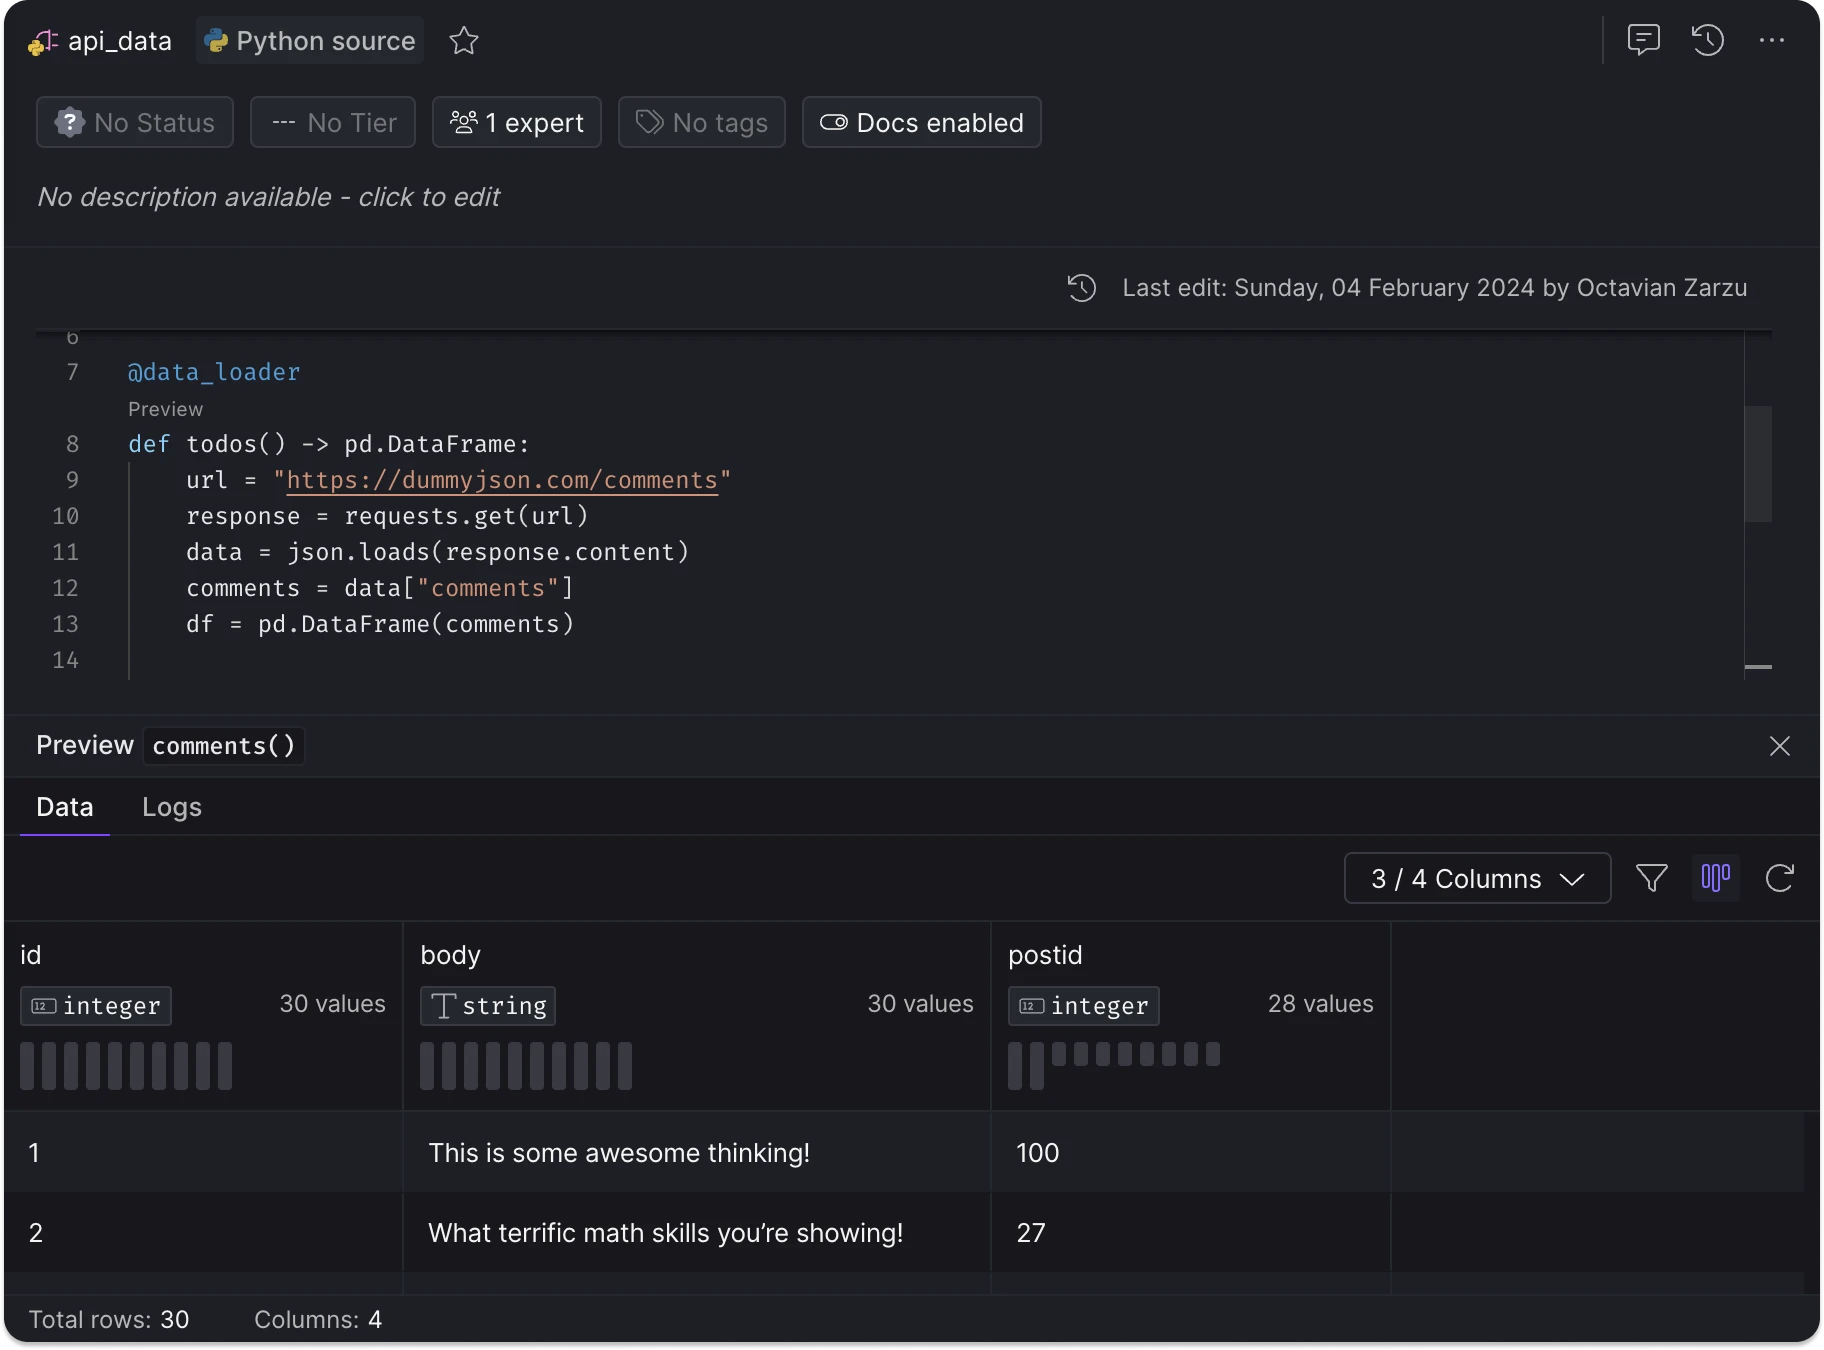
Preview data and logs of any decorated python function.
Reference Python sources in dbt models
You can reference Python source tables in dbt downstream models using the {{source}} macro, just like any other source.
The lineage view will automatically create a link between the Python source table and the dbt model.
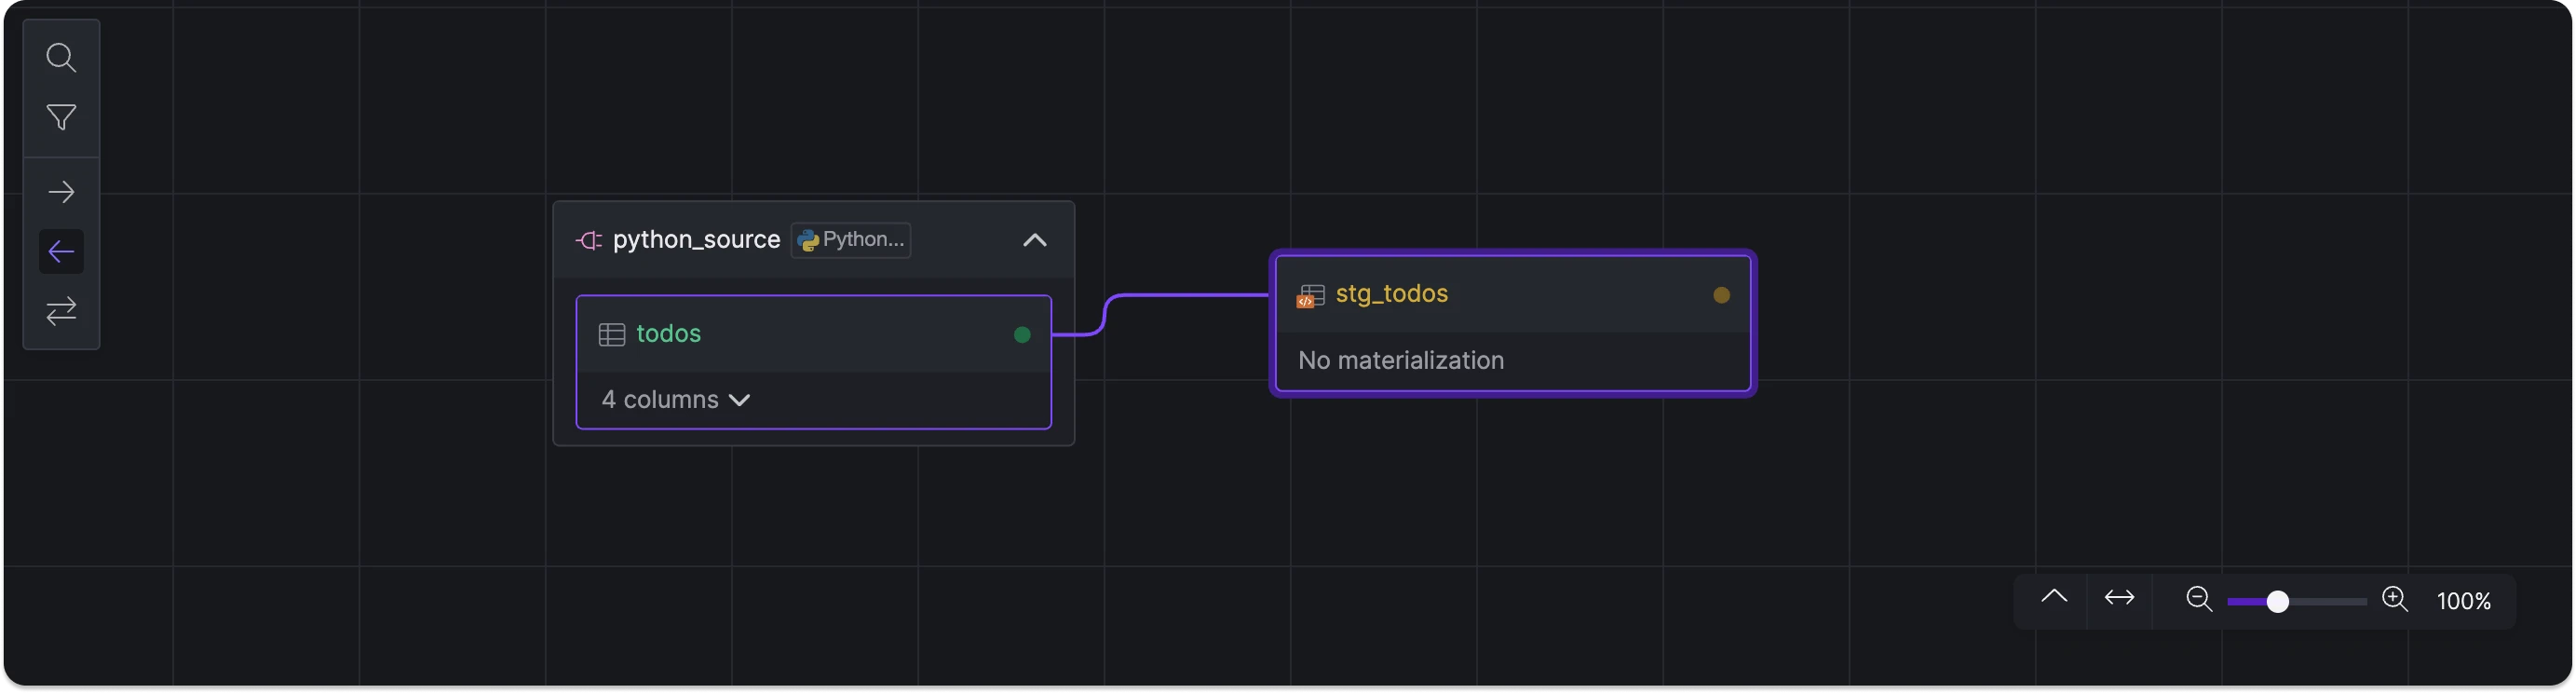
Python source connected to a downstream SQL model.
Installing custom modules
Install custom modules by listing them in a requirements.txt file located in the python_ingest folder.
- api_data.py
- requirements.txt
- api_data.yml
Example of requirements.txt file content:
FAQ
Do Python ingest assets adhere to Virtual Data Builds?
Yes, all assets in Y42, including Python ingest assets, are subject to the Virtual Data Builds mechanism. This ensures that Python ingest assets enjoy the same advantages as other assets in the system.